QRPay - Money Trans fer with QR
$119
$99
🕒 Our technical team is available Monday to Friday, 9:00 AM - 7:00 PM (GMT +6). Thank you for your patience; we'll respond to your inquiries promptly.
🕒 Our technical team is available Monday to Friday, 9:00 AM - 7:00 PM (GMT +6). Thank you for your patience; we'll respond to your inquiries promptly.


Certainly! Here's the content for the "Setup KYC" feature in your admin panel:
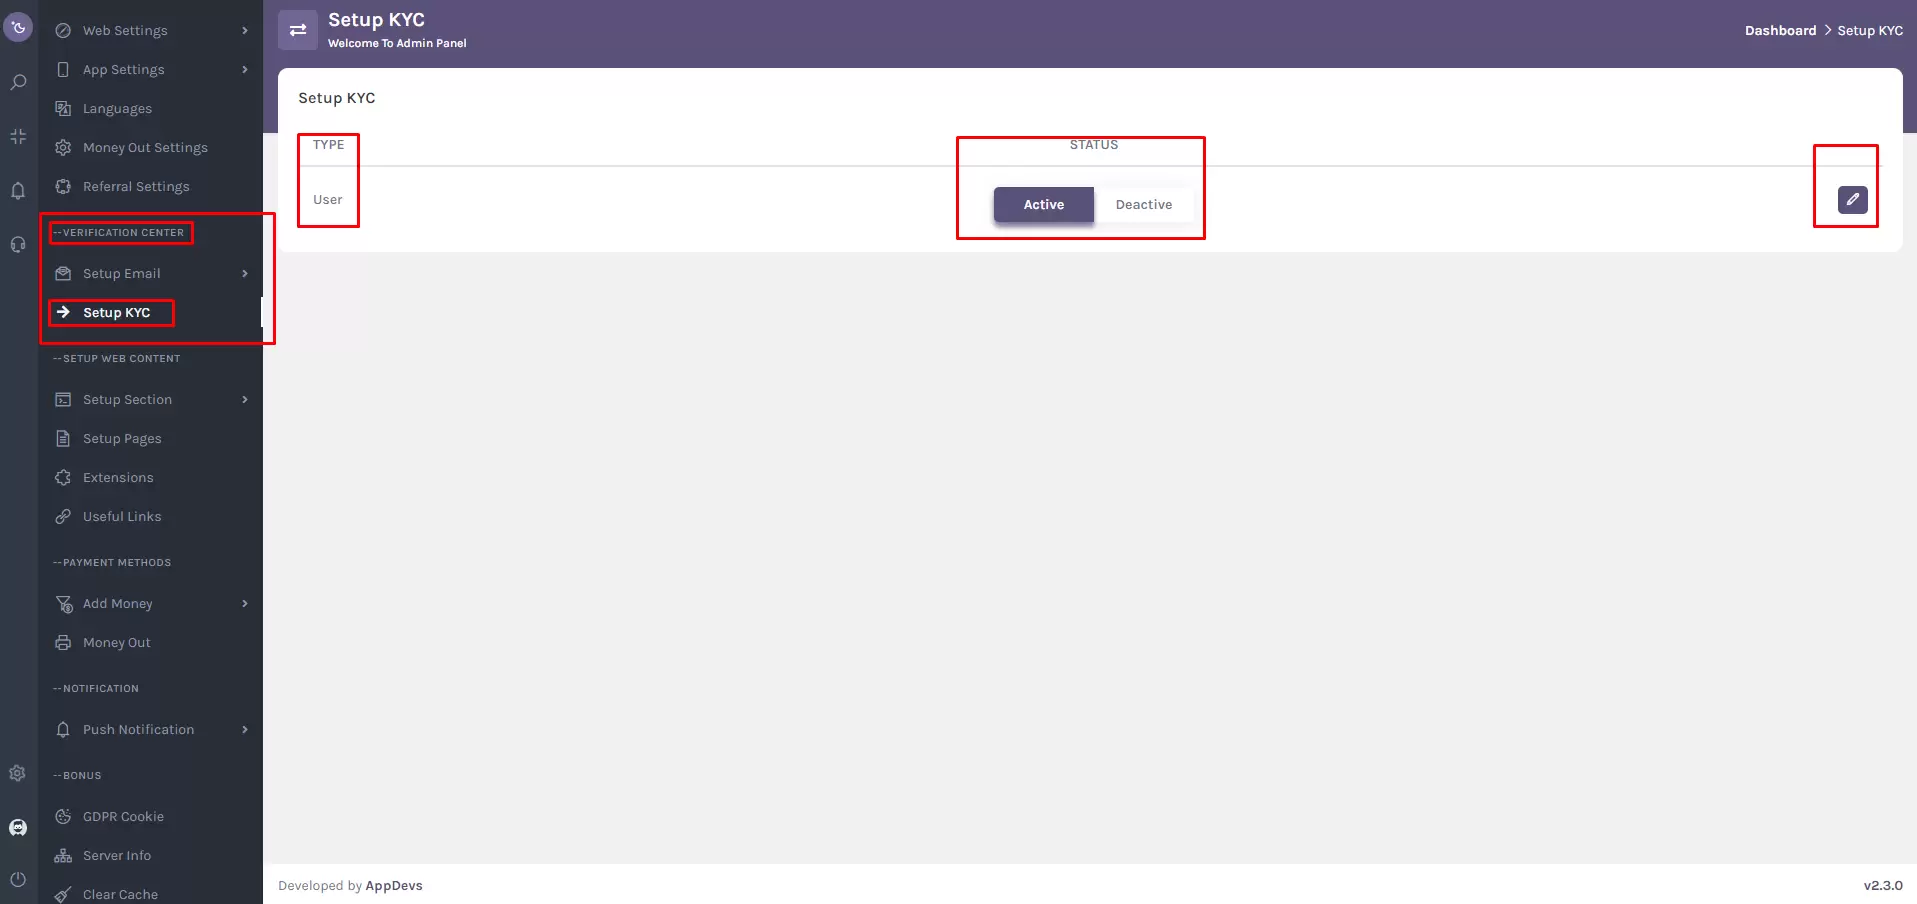
Navigation : Setup KYC using the super-admin panel with the provided navigation path (Verification Center > Setup KYC), follow these steps and also you can search the (Setup KYC) from super-admin sidebar search box.
Navigate to the Verification Center and select "Setup KYC" from the menu.
In the "Setup KYC" table, you'll find the following options:
[Dropdown menu to select the type]
[Switcher: Active / Deactive]
[Edit Button - Click to go to the KYC Data Form page]
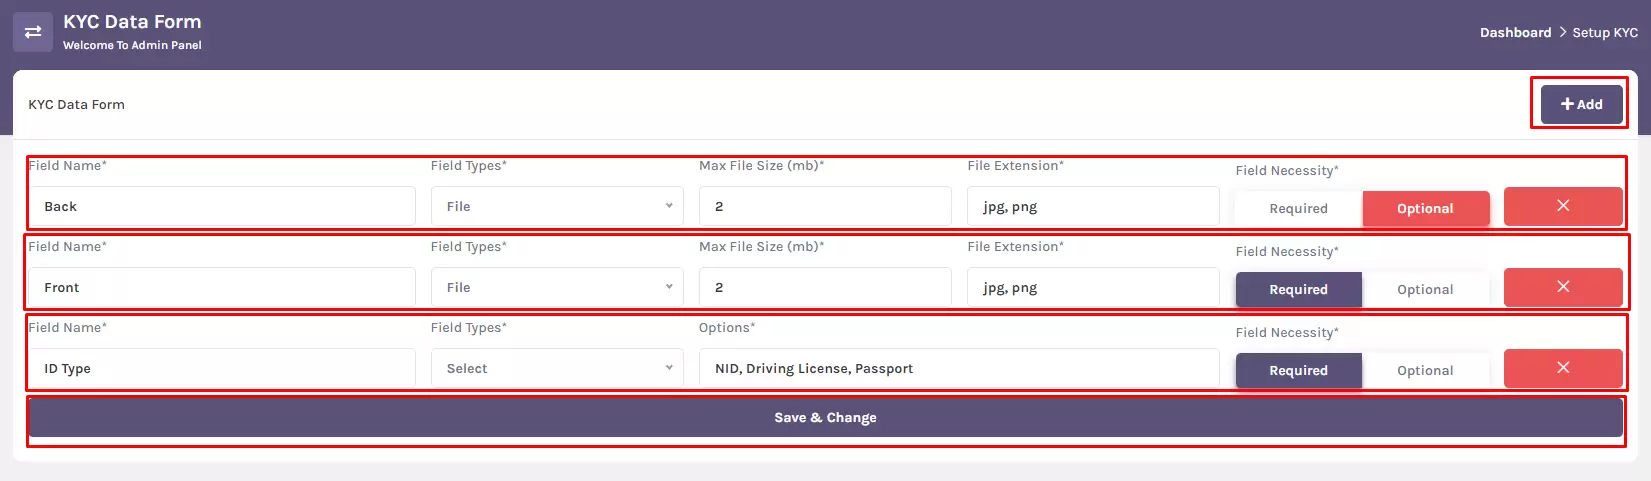
On the KYC Data Form page, you can configure data collection systems with the following fields:
[Input field for the name of the field]
[Dropdown menu to select input text, file, textarea, or select]
[Input field for maximum file size in megabytes]
[Input field for allowed file extensions, e.g., jpg, png]
[Switcher: Required / Optional]
[Cross button - Click to delete the row]
Click the "Add" button to add an empty row.
Fill in the following fields for each row:
You can add multiple rows as needed.
After configuring the required fields, click the "Save & Change" button to save the settings for user panel.
Note: This setup allows you to manage and customize KYC data collection efficiently. If you have any further questions or need assistance, feel free to ask!